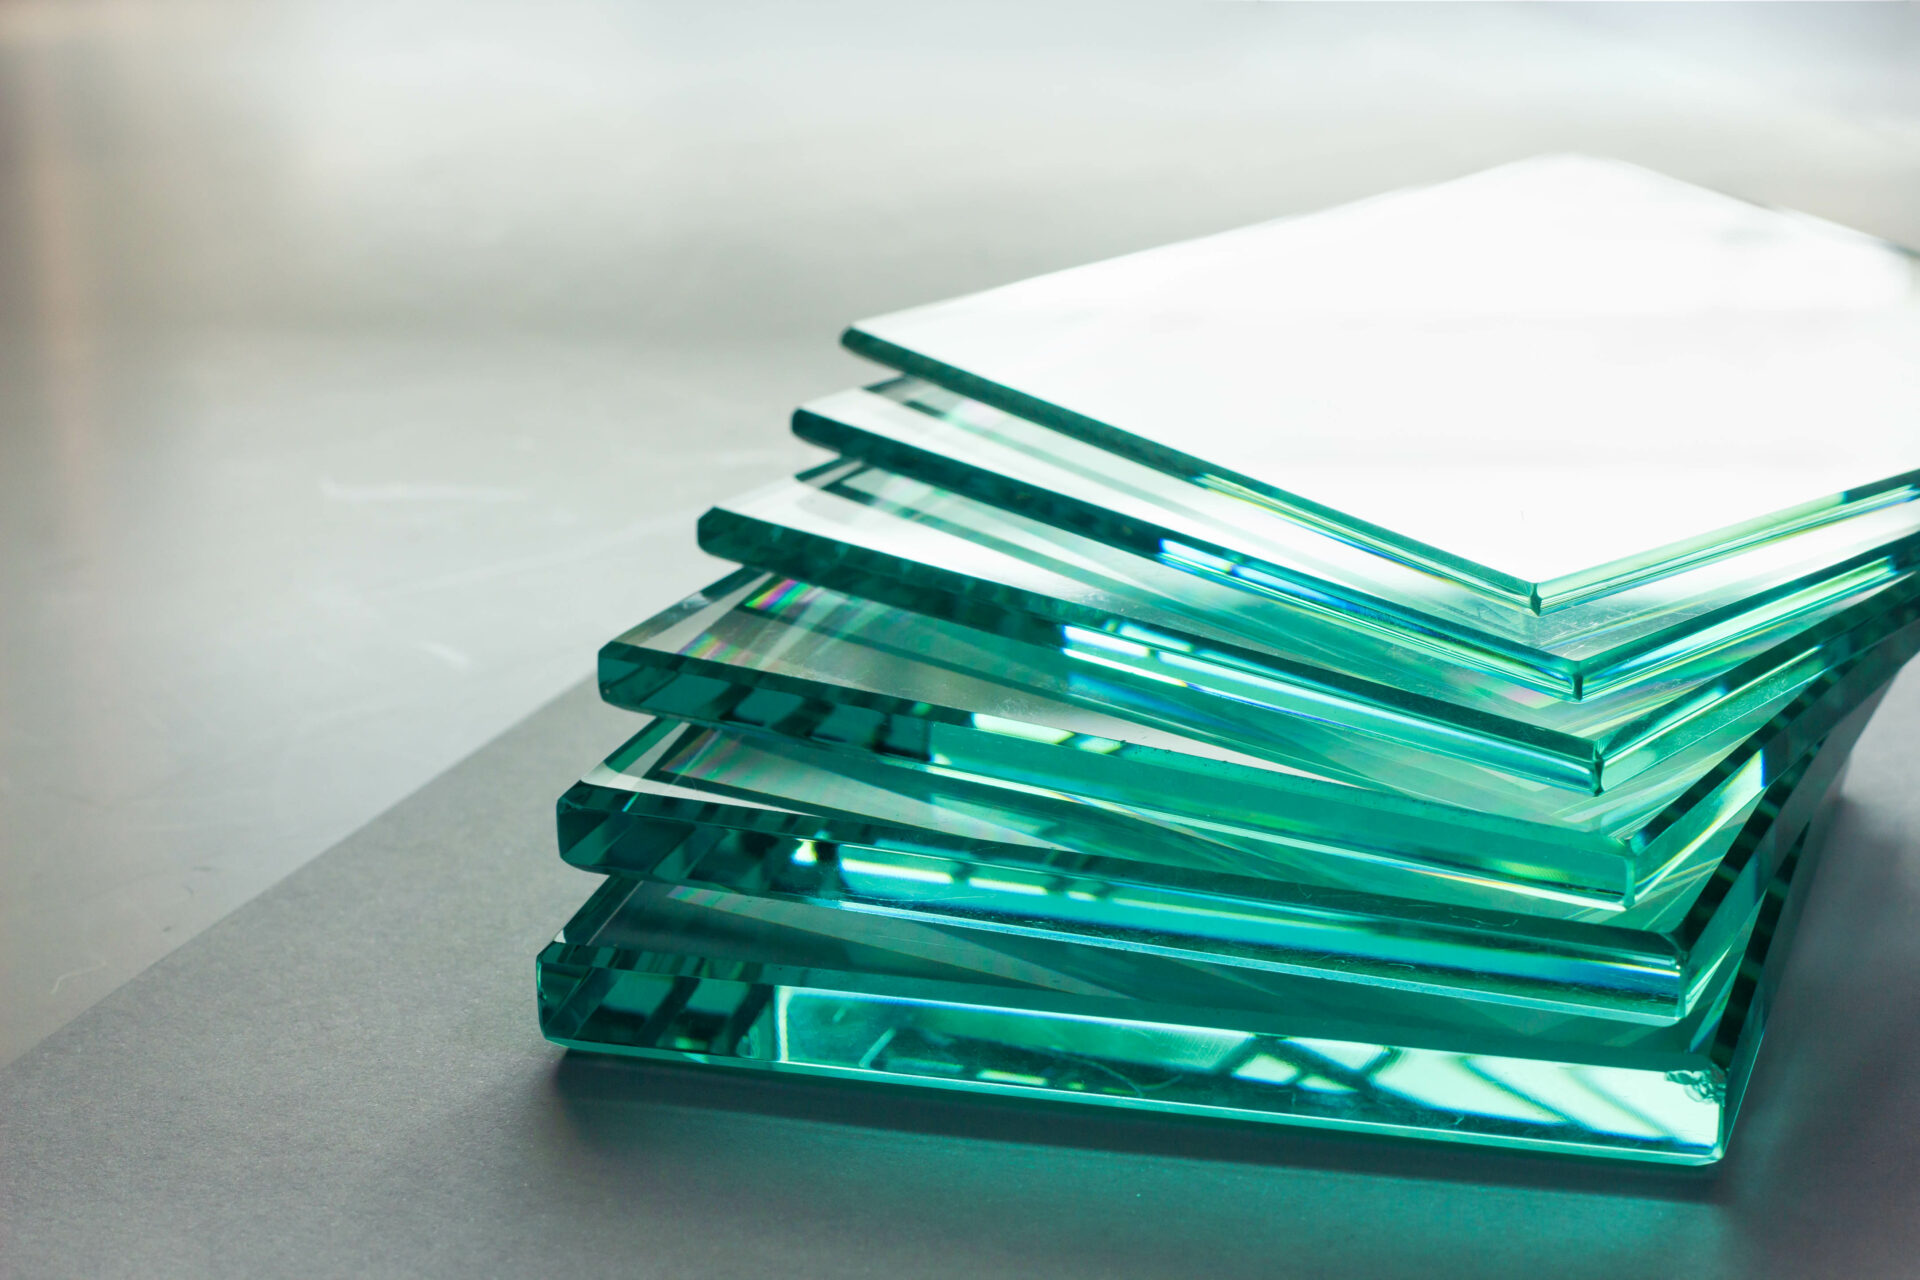

Heated glass panels are a critical component on heavy machinery operating in cold, wet, or rapidly changing weather conditions. When frost, condensation, or ice builds up on cabin windows, visibility drops and safe operation becomes harder to maintain. A structured maintenance routine keeps heated glass panels performing reliably throughout demanding seasons and extends their service life considerably.
This guide walks through everything you need to maintain heated glass panels on heavy machinery, from gathering the right tools to diagnosing faults and deciding when a panel needs replacing. Follow these steps in order to get the best results and protect your investment in quality glazing.
Tools and materials needed before you start
Preparation is the foundation of effective heated glass maintenance. Arriving at the job without the right materials wastes time and risks damaging sensitive components. Before you touch the glass or the frame, gather everything on the list below so the process runs smoothly from start to finish.
Heated glass panels on heavy machinery combine electrical heating elements laminated within the glass with aluminium-framed glazing that must withstand vibration, dust, moisture, and extreme temperatures. This means your maintenance kit needs to address both the glazing surface and the electrical system. Using the wrong cleaning agents or tools is one of the most common causes of premature panel failure, so material selection matters as much as technique.
Collect the following before you begin:
- Soft microfibre cloths or lint-free cleaning pads
- pH-neutral glass cleaner (no ammonia-based products, which can degrade seals and coatings)
- A low-pressure compressed air source or soft brush for frame cleaning
- A multimeter capable of measuring DC voltage and resistance
- A thermal imaging camera or infrared thermometer for heating element verification
- Silicone-based sealant compatible with aluminium profiles for minor seal repairs
- Isopropyl alcohol (70%) for electrical contact cleaning
- Torque screwdriver for checking frame fasteners without over-tightening
- Manufacturer-supplied wiring diagrams or panel specifications
- Personal protective equipment: safety glasses and insulated gloves
With all materials assembled, you are ready to move to the inspection and cleaning phase. Do not skip the electrical safety step: always confirm the heating circuit is powered off before making physical contact with connectors or frame components.
Inspect, clean, and test heated glass panels
With your tools ready, work through inspection, cleaning, and functional testing as a single connected sequence. Separating these stages is inefficient and risks missing faults that only become visible once the surface is clean. A methodical approach here directly determines how well the panel performs under load.
Visual inspection of the glass and frame
Begin with a thorough visual check of the entire panel assembly. Good lighting is essential, so if the machine is in a dark workshop, use a handheld lamp to examine the glass surface at an angle.
- Look across the glass surface for chips, cracks, delamination, or any clouding near the edges, which can indicate moisture ingress between the laminated layers.
- Examine the aluminium frame perimeter for corrosion, distortion, or loose fasteners. Heavy machinery vibration gradually works fixings loose over time.
- Check all rubber and silicone seals around the frame for cracking, compression set, or gaps. Compromised seals allow moisture and dust to reach the heating element connections.
- Inspect the electrical connectors and cable entry points for signs of oxidation, fraying, or mechanical damage caused by vibration or abrasion against the frame.
After the visual check, you should have a clear picture of any physical damage. Note every finding before moving on, even minor ones. Small seal gaps or hairline frame corrosion escalate quickly in the conditions heavy machinery typically operates in.
Cleaning the glass surface and aluminium frame
Clean the glass panel before functional testing so that any residue or contamination does not interfere with thermal imaging readings. Apply pH-neutral glass cleaner to a microfibre cloth rather than spraying directly onto the panel, which reduces the risk of liquid reaching connector points.
- Wipe the glass surface in straight, overlapping passes from top to bottom. Avoid circular motions that spread contaminants.
- Use compressed air or a soft brush to clear dust and debris from the aluminium frame channels, paying particular attention to drainage slots and corners where moisture collects.
- Clean electrical connectors with a cotton swab lightly dampened with isopropyl alcohol. Allow full drying time before restoring power.
The frame and glass should now be clean and dry. This is also the right moment to apply a thin bead of silicone sealant to any minor seal gaps identified during inspection. Allow it to cure fully according to the product instructions before the functional test.
Functional testing of the heating element
Restore power to the heating circuit and allow the panel to reach operating temperature, typically two to five minutes depending on ambient conditions. Use your thermal imaging camera or infrared thermometer to verify even heat distribution across the entire glass surface.
- Scan the panel systematically from one edge to the other. A correctly functioning heated glass panel shows a uniform temperature gradient with no cold spots or dark zones.
- Use the multimeter to check supply voltage at the connector against the panel’s rated specification. A significant voltage drop suggests a wiring or connection fault upstream.
- Measure resistance across the heating element terminals and compare against the manufacturer’s specification. A reading significantly outside the stated range indicates element degradation.
A panel that passes all three checks is performing correctly. Document your readings and the date of the inspection so you have a baseline for future comparisons. Consistent records help identify gradual degradation before it causes operational problems.
Address common faults and know when to replace
Even with regular maintenance, heated glass panels on heavy machinery will eventually develop faults. Identifying the nature of a fault quickly determines whether you can resolve it on-site or need to arrange a panel replacement. Acting promptly on early warnings avoids the more costly outcome of a complete panel failure during operation.
The most common faults and their typical causes are:
- Cold spots on the glass surface: Usually caused by a partial break in the heating element within the laminate. This cannot be repaired in the field and requires panel replacement.
- No heating at all: Check the fuse, supply voltage, and connector integrity first. A blown fuse or corroded connector is often the cause and is straightforward to resolve.
- Condensation between glass layers: Indicates seal failure allowing moisture into the laminate. Once moisture has entered the laminate, the panel’s optical clarity and heating performance are permanently compromised.
- Frame looseness or movement: Retighten fasteners to the manufacturer’s specified torque. If the aluminium profile itself is deformed, assess whether the frame can be refitted or must be replaced as a unit.
- Intermittent heating: Often caused by a connector that has worked loose due to vibration. Clean and reseat the connector. If the fault persists, the wiring harness or element may be damaged.
Knowing when to replace rather than repair is a critical judgment. As a general principle, any fault that originates within the laminated glass layers, such as element breaks or internal delamination, cannot be resolved through field maintenance. Continuing to operate with a compromised panel reduces visibility and creates a safety risk. Replacement is the correct decision in these cases.
When sourcing replacement panels, durability and compatibility with your machinery’s operating environment should drive the decision. We design and supply heated sliding glass solutions specifically for tractors, snow groomers, construction equipment, and other special-purpose vehicles, with robust aluminium-framed glazing built to perform reliably in cold, wet, and dusty conditions. Our products are supplied tested and ready for installation, and we support clients with spare part batch availability so you are not left waiting for components when a replacement is needed.
If you are managing a fleet of heavy machinery or planning ahead for the season, we are happy to discuss your specific requirements and help you identify the right glazing specification before problems arise. Contact our team to talk through your maintenance or replacement needs.
Maintaining heated glass panels consistently is far more cost-effective than reactive replacement. With the right tools, a structured inspection routine, and a clear process for fault diagnosis, you can keep cabin visibility high and machinery operational through even the most demanding winter conditions. If you have questions about panel specifications, replacement options, or want to discuss a custom glazing solution for your equipment, reach out to us directly and we will help you find the right answer.